Spring Cloud로 개발하는 마이크로서비스 애플리케이션(MSA)-1.Service Discovery
며칠전 MSA 관련 인프런 강의를 보기 시작했다. 강의를 보고 따라해 보면서 진행했던 내용들 중 중요하거나 다시 확인이 필요한 부분을 정리할 예정이다.
Service Discovery
Springboot version - 2.6.3
JDK Version - 11
Spring cloud version - 2021.0.0
pom.xml(Eureka Server)
프로젝트 생성시 Spring Cloud Discovery > Eureka Server 만 선택 후 프로젝트를 생성한다.
<dependencies>
    <dependency>
        <groupId>org.springframework.cloud</groupId>
        <artifactId>spring-cloud-starter-netflix-eureka-server</artifactId>
    </dependency>

    <dependency>
        <groupId>org.springframework.boot</groupId>
        <artifactId>spring-boot-starter-test</artifactId>
        <scope>test</scope>
    </dependency>
</dependencies>
DiscoveryserviceApplication.java
@EnableEurekaServer 어노테이션을 추가한다.
import org.springframework.boot.SpringApplication;
import org.springframework.boot.autoconfigure.SpringBootApplication;
import org.springframework.cloud.netflix.eureka.server.EnableEurekaServer;


@SpringBootApplication
@EnableEurekaServer
public class DiscoveryserviceApplication {

    public static void main(String[] args) {
        SpringApplication.run(DiscoveryserviceApplication.class, args);
    }

}
application.yml(Eureka Server)
server:
  port: 8761

spring:
  application:
    name: discoveryservice

eureka:
  client:
    register-with-eureka: false
    fetch-registry: false
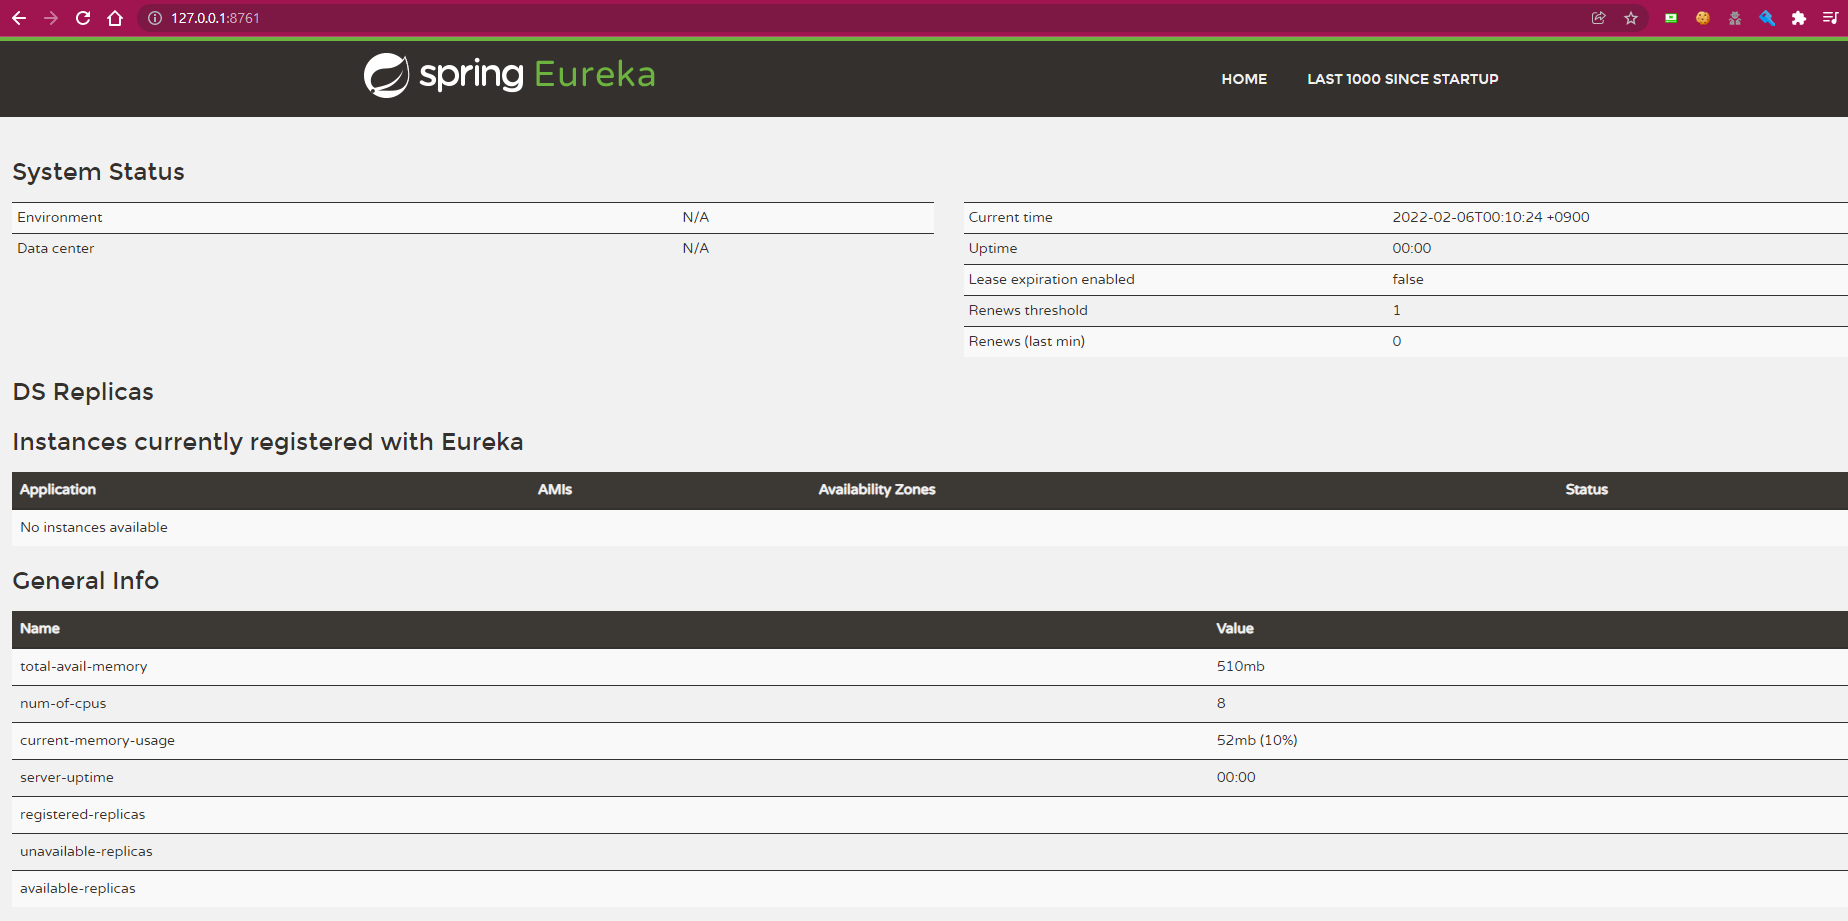
Eureka 대시보드 실행화면
Eureka Client 서비스 생성
pom.xml(Eureka Client)
프로젝트 생성시 Spring Cloud Discovery > Eureka Discovery Client 만 선택 후 프로젝트를 생성한다.
spring-boot-starter-web, spring-boot-devtools, lombok은 나중 작업을 위해 미리 추가해 주었다.
<dependencies>
    <dependency>
        <groupId>org.springframework.boot</groupId>
        <artifactId>spring-boot-starter-web</artifactId>
    </dependency>
    <dependency>
        <groupId>org.springframework.cloud</groupId>
        <artifactId>spring-cloud-starter-netflix-eureka-client</artifactId>
    </dependency>

    <dependency>
        <groupId>org.springframework.boot</groupId>
        <artifactId>spring-boot-devtools</artifactId>
        <scope>runtime</scope>
        <optional>true</optional>
    </dependency>
    <dependency>
        <groupId>org.projectlombok</groupId>
        <artifactId>lombok</artifactId>
        <optional>true</optional>
    </dependency>
    <dependency>
        <groupId>org.springframework.boot</groupId>
        <artifactId>spring-boot-starter-test</artifactId>
        <scope>test</scope>
    </dependency>
</dependencies>
UserServiceApplication
@EnableDiscoveryClient 어노테이션을 추가한다.
import org.springframework.boot.SpringApplication;
import org.springframework.boot.autoconfigure.SpringBootApplication;
import org.springframework.cloud.client.discovery.EnableDiscoveryClient;
import org.springframework.cloud.netflix.eureka.EnableEurekaClient;

@SpringBootApplication
@EnableDiscoveryClient
public class UserServiceApplication {

    public static void main(String[] args) {
        SpringApplication.run(UserServiceApplication.class, args);
    }

}
Load Balancer 테스트를 위한 Service Application 기동 방법
- Intellij Run/Debug Configuration > Edit Configuration 선택 > Copy Configuration 클릭 > vm 옵션 -DServer.port=9003
- Intellij Terminal에서 mvn spring-boot:run -Dspring-boot.run.jvmArgumennts='-Dserver.port=9003'
- java -jar -Dserver.port=9004 ./target/user-service-0.0.1-SNAPSHOT.jar
application.yml(USER-SERVICE)
port의 값을 0으로 설정해서 RANDOM PORT를 사용하다록 설정
register-with-eureka: true, fetch-registry: true 로 설정해서 Eureka 서버에서 Service의 정보를 등록하도록 설정
server:
  port: 0

spring:
  application:
    name: user-service

eureka:
  instance:
    instance-id: ${spring.cloud.client.hostname}:${spring.application.instance_id:${random.value}}
  client:
    register-with-eureka: true
    fetch-registry: true
    service-url:
      defaultZone: http://127.0.0.1:8761/eureka
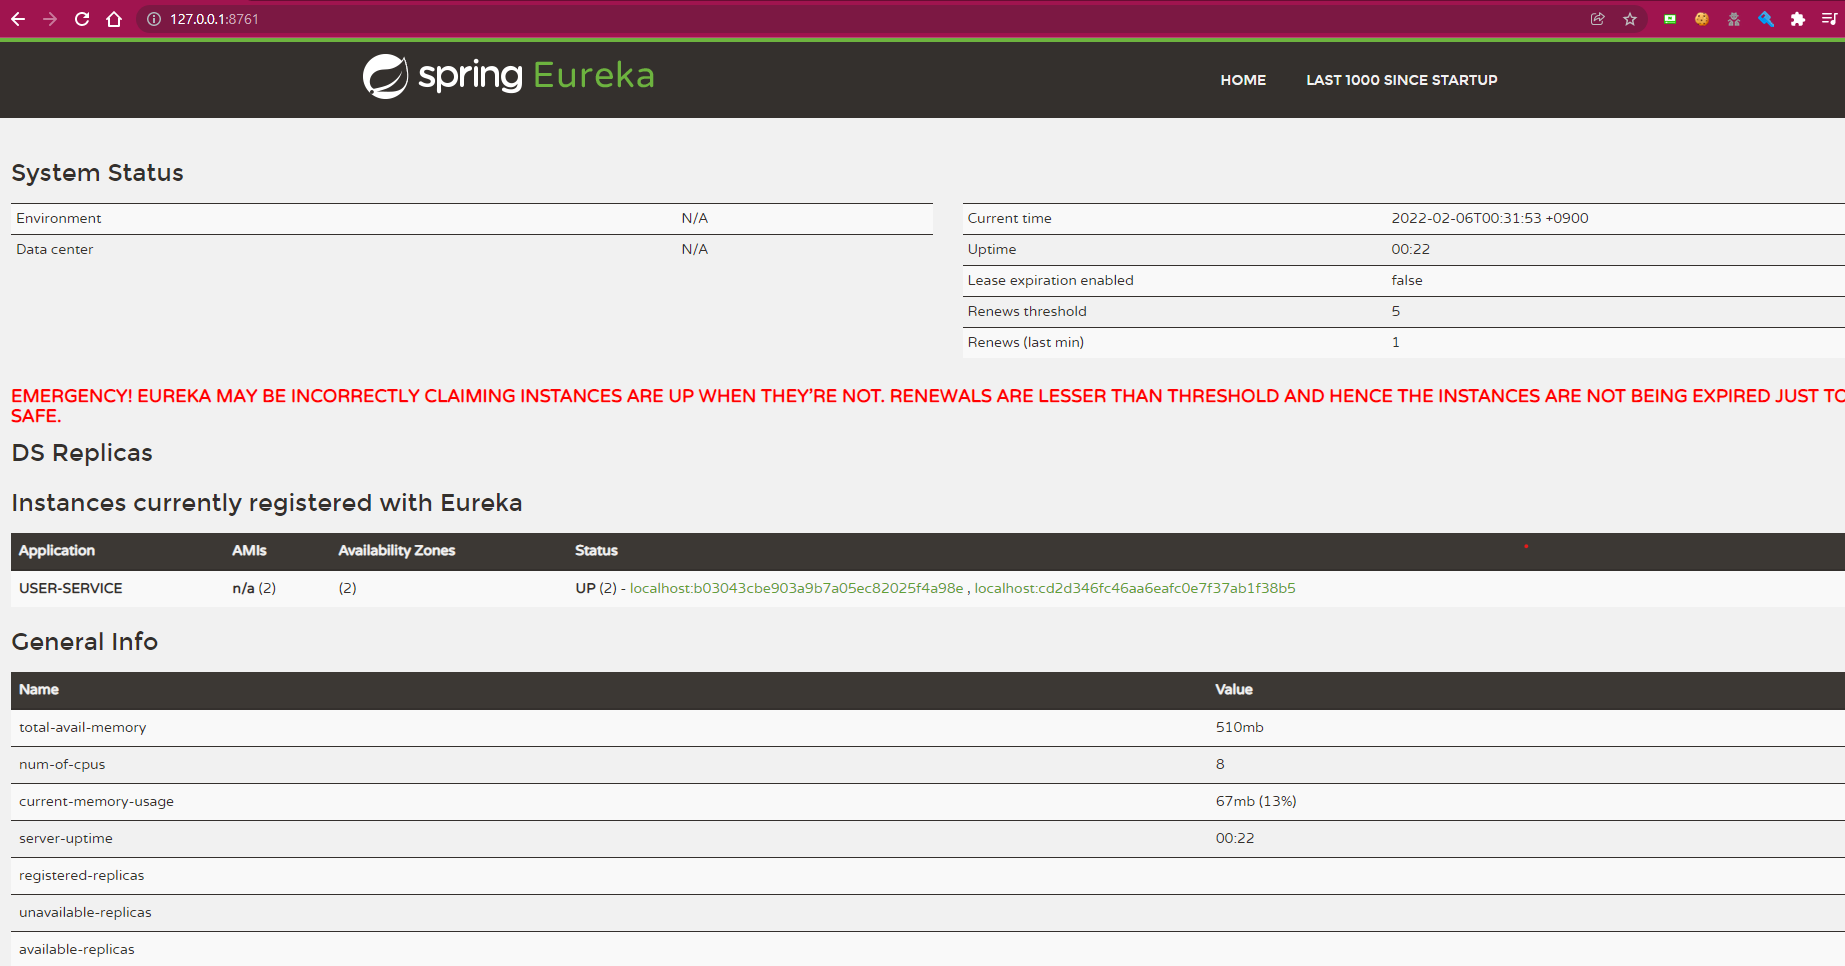
Eureka 대시보드 실행화면
랜덤포트로 USER-SERVICE 2개 등록 후 확인한 화면이다.